close
Drupal 8 has been released on November 19, 2015 with huge improvements. We have already published step by step guide on Drupal installation and configuration tutorial for beginners. Today we’ll help you to install and configure newly launched Drupal 8 on your local server. In this Drupal 8 tutorial for beginners, we’ll provide the step by step guides. With our step by step tutorial, you can easily install and setup Drupal 8 on the server.
It will be a good idea to build and test your Drupal site on the local server before publishing your website on the internet. Once you have satisfied with local development, you can upload the full project directory on the web host for publically available. So, you can install and setup your Drupal 8 site on the localhost first.
Before starting the Drupal 8 installation checkout the system requirements for install and run Drupal 8 on your web server.
Download the Drupal 8 core .gz or .zip file to your local machine from here – https://www.drupal.org/project/drupal
Extract the .gz or .zip file into the local machine and place the entire folder into the localhost server. Now rename the root directory name with your chosen project name (For example, drupal/). In case you want to install Drupal on the web host, upload the entire contents of this folder (drupal/) to the HTML document root of your hosting account.
Before creating the database keep in your mind the database naming convention of Drupal 8.
Log into the phpMyAdmin panel (http://localhost/phpmyadmin/) and create a database (For example, drupal_db) with utf8_general_ci COLLATION. For creating the database on the web host checkout How to create a MySQL database in cPanel tutorial.
Copy the sites/default/default.settings.php file and save the new file as settings.php into the same directory. Change the settings.php file permission to allow install script to edit the services.php file.
Copy the sites/default /default.services.yml file and save the new file as services.yml into the same directory. Change the services.yml file permission to allow install script to edit the services.yml file.
Change the sites/default directory permission to allow install script to create a files directory. Alternatively you can create a sites/default/files directory yourself manually.
Point the browser to Drupal folder URL or website base URL for run the installation script. If you are installing Drupal on the web host, the URL will be a domain name such as http://www.example.com. If you installing Drupal on the local server, URL might be http://localhost/drupal.
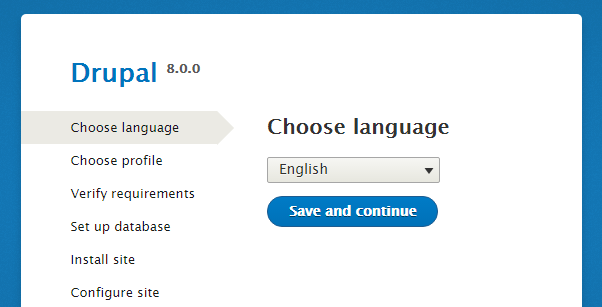
Choose language:
Choose your site language from language dropdown. Save and continue.
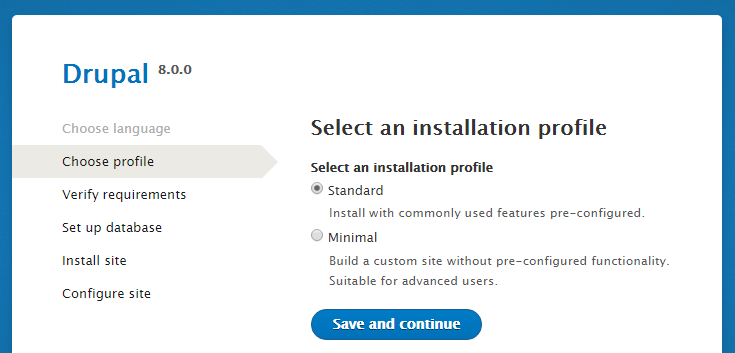
Choose profile:
Select an installation profile (recommended is Standard). Save and continue.
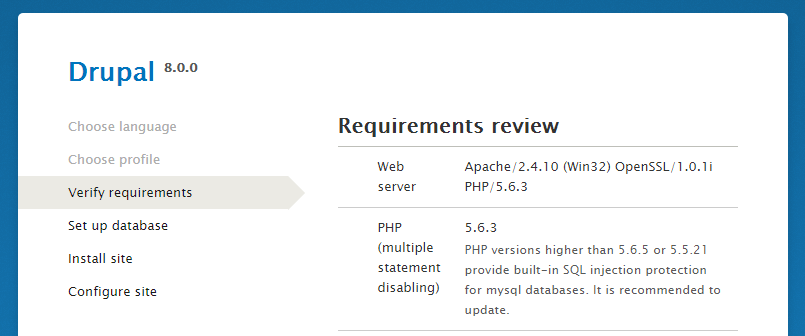
Verify requirements:
Review the requirements and modify the server configuration if needed. Click on the retry link after modified the configuration. Otherwise, click on the continue anyway to skip the optional configurations.
Set up database:
Configure the database by entering the database type, database name, database username and database password.
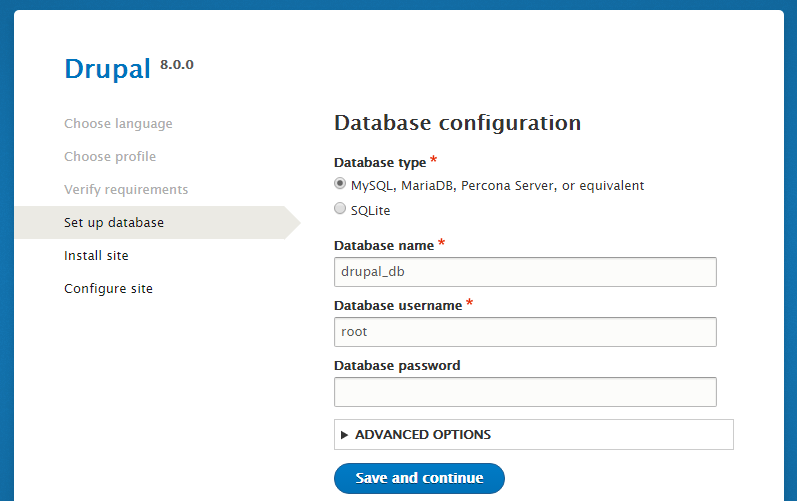
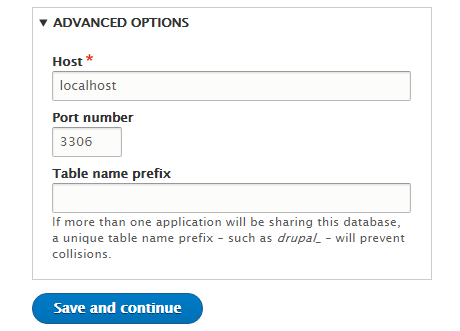
If you want to change the database host, port or table prefix, you can use the ADVANCED OPTIONS. Otherwise, leave as it is. Save and continue.
Install site:
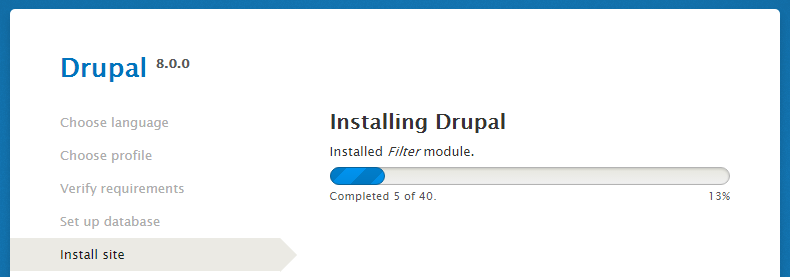
Drupal will be start installing and you’ll see the installation progress.
Configure site:
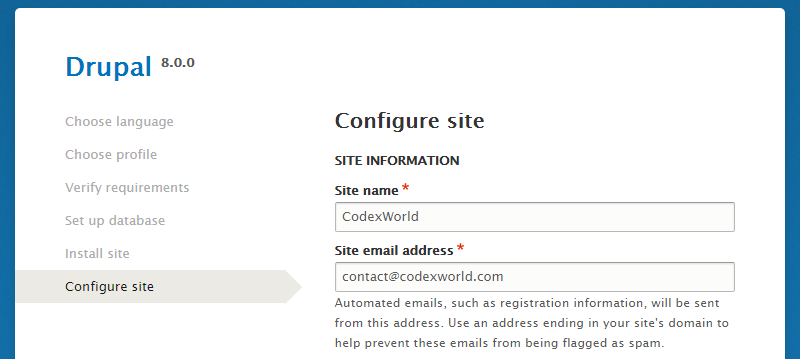
Enter your site name, site email, login username, login password, email address, select default country and time zone. Save and continue.
On success, you will be redirected to the homepage and you’ll see the installation success message.
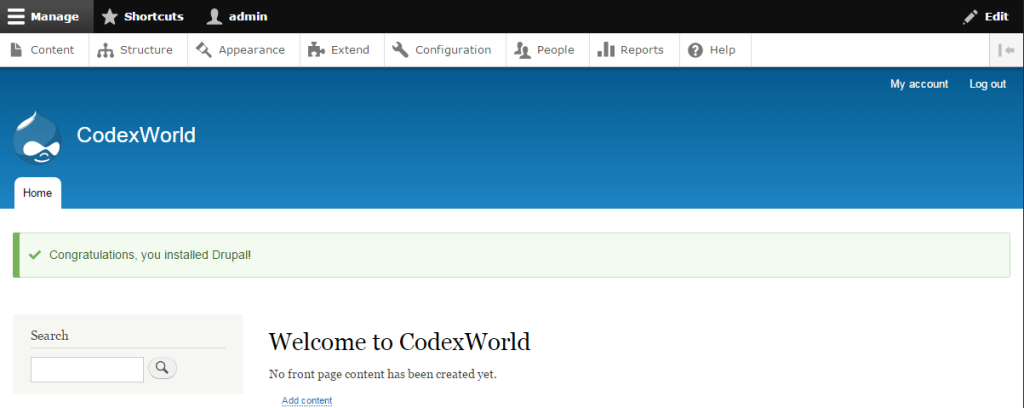
You can see all the configuration menus under the Manage tab. Also, you can point the admin URL (http://localhost/drupal/admin/ or http://www.example.com/admin/) to access the administrative panel.
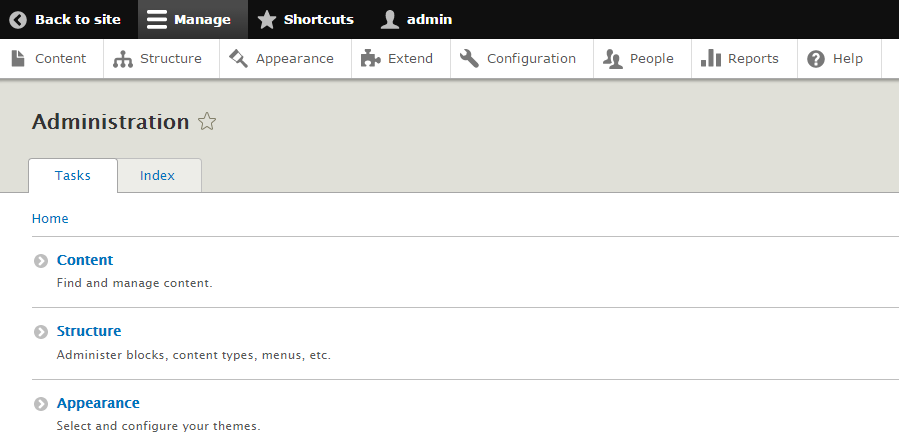
Congratulation!! Your Drupal 8 installation and configuration has completed. Now you can see the new UI and features of Drupal 8. If you have any questions about this Drupal 8 installation tutorial, let us know by providing your comment here.
Do you want to get implementation help, or enhance the functionality of this script? Click here to Submit Service Request
I experienced a very strange issue with Drupal 8 (no issues with other CMS programs, just 8). I am using IIS and My SQL for this setup. This error occurs with a new database, and a default settings, where the database has not even been implemented into the settings.php yet.
The following is what has occurred: At the database configuration page, I entered the database information, (select My SQL, database name, username, password, host, port number). Once the information is filled, I select “Save and Continue”. Then, The page loads for a couple minutes; stating “waiting for localhost” at the bottom of the browser. Next, I am leaded to a page stating “Drupal already installed”. So I delete the settings, and create a new database. I refilled the database information at the Database configuration page, and the error occurred again, stating “Drupal already installed”. I redo the process until about the 5th try, Drupal installs displaying the loading bar.
Does anyone know the reason for this happening? Why does it say downloaded already, but then downloads after redoing a couple tries? Can speed be the factor?
It is possible in drupal 7/8 to change domain name directly in database table to update ? If yes then which table ? if no then suggest me how to do ?
I install drupal 8 successfully with the help of your tutorials , But after installation when check database show empty (no any table created). suggest how to resolve it.
Probably the database credentials are not properly given at the time of installation. Remove the previous project and start a fresh installation by our step-by-step instruction.