close
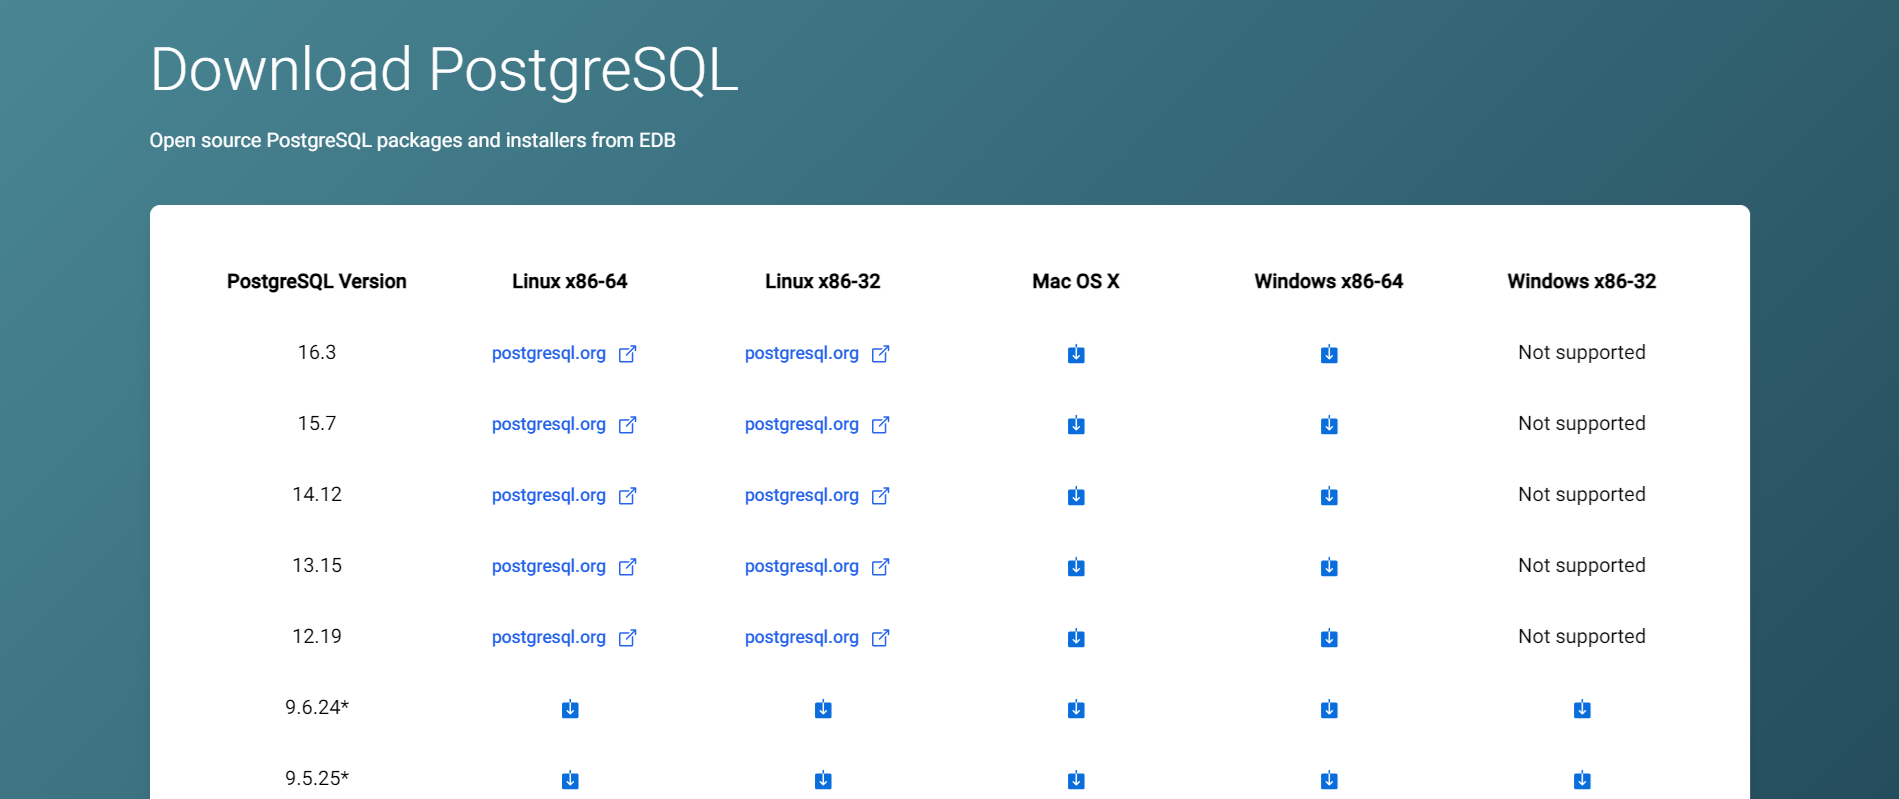
Download the installer from the official site of PostgreSQL (select the package compatible with your operating system).
In the Select Components screen, choose “PostgreSQL Server”, “pgAdmin 4”, and “Command Line Tools” to install.
Once the PostgreSQL installer installation is completed, you can connect the database.
You can use the following two ways to connect the PostgreSQL database.
SQL Shell (psql):
psql is a terminal-based program that allows you to write SQL queries and execute them to the PostgreSQL database. This tool provides an interface to interact with the PostgreSQL database through SQL syntax in the command-line terminal.
Open the SQL Shell (psql) tool, you will see the program window like the below one.
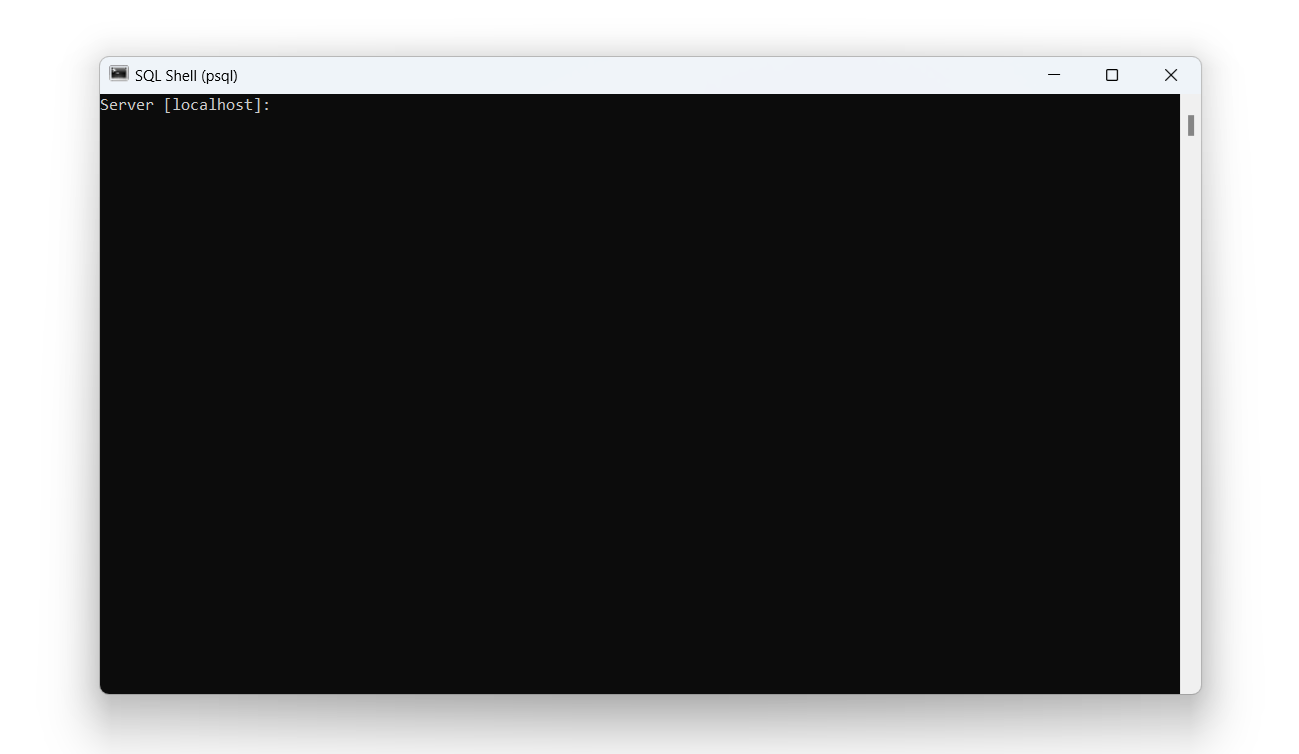
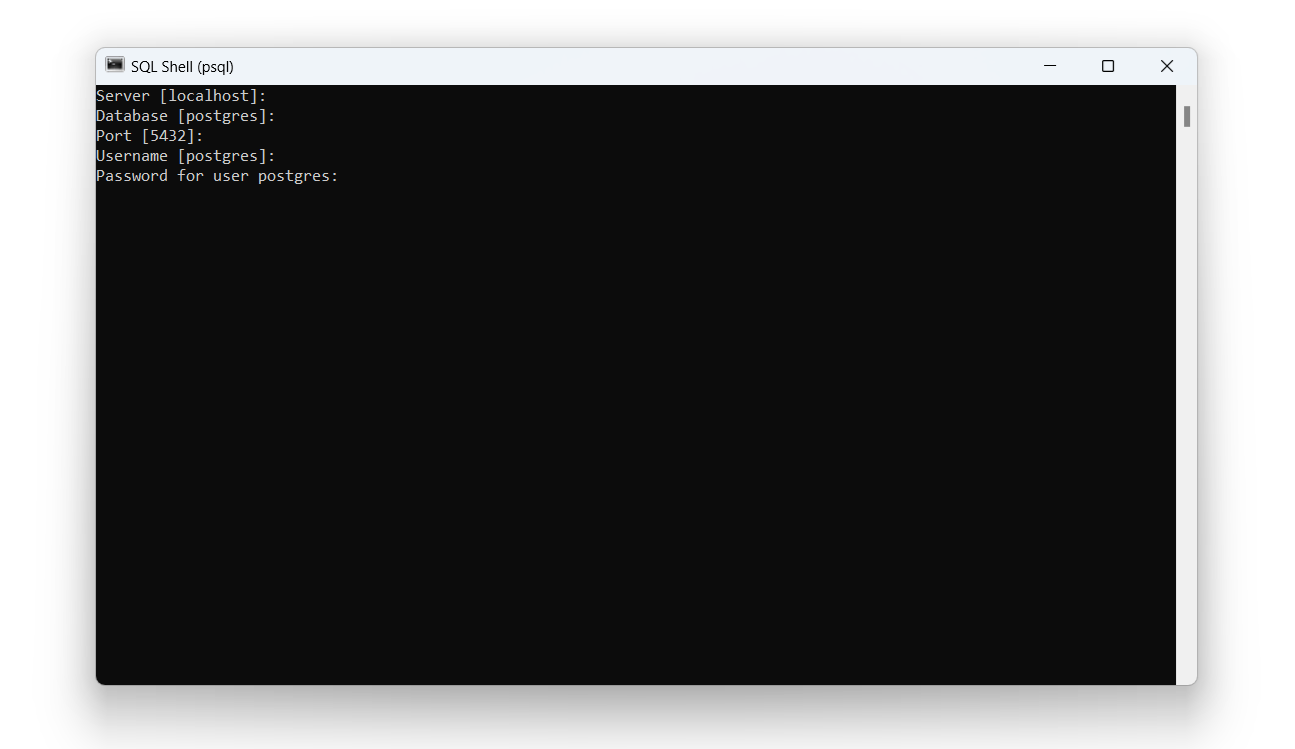
Since we are willing to connect the PostgreSQL database from our local system, the default parameters can be used.
Enter the password you chose at the time of PostgreSQL database installation.
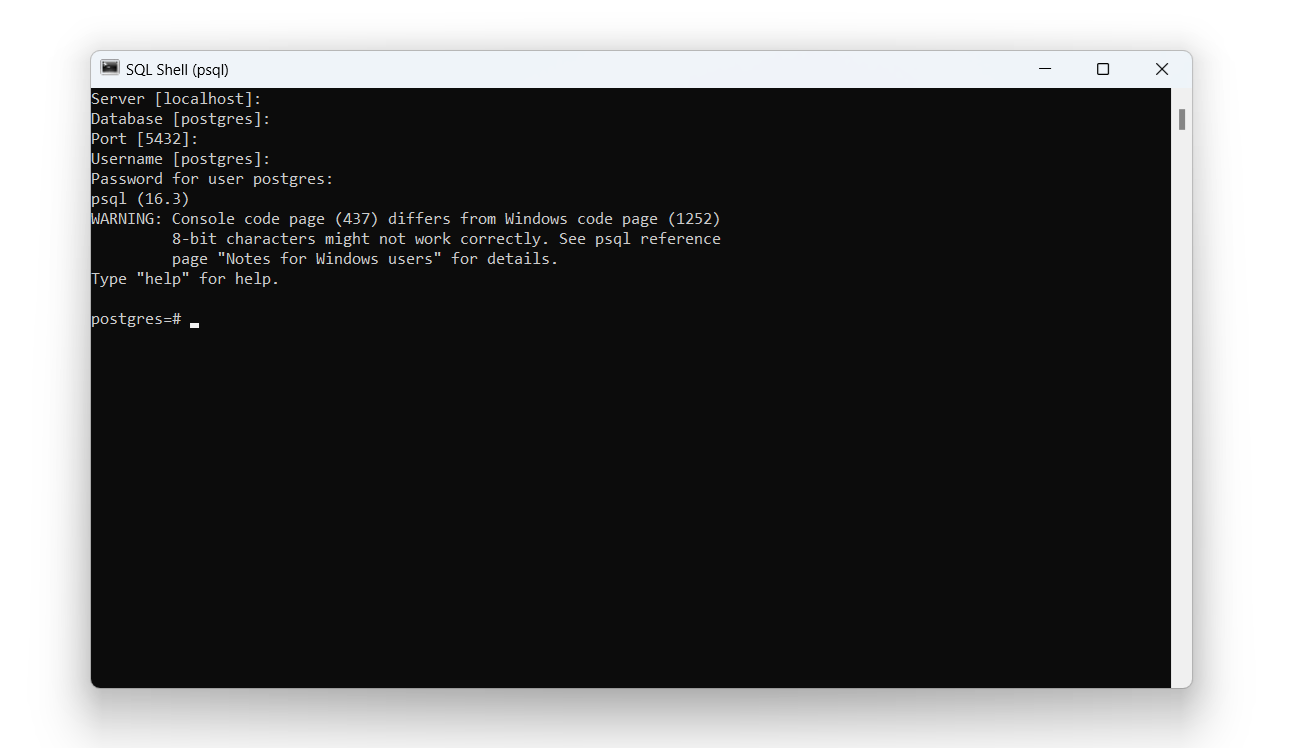
As a result, you will see the below screen, it will show psql (16.3) or the version you installed, and in the end line postgres=# command will show. So you have successfully connected to the PostgreSQL database!
The pgAdmin 4 application provides a user-friendly way to interact with the PostgreSQL database.
Open the pgAdmin4 program and navigate to the database:
Click the [Servers] option in the menu on the left side.
A dialog window will appear, enter the password to connect to the server.
Under the [Databases] option, you will see the default database.
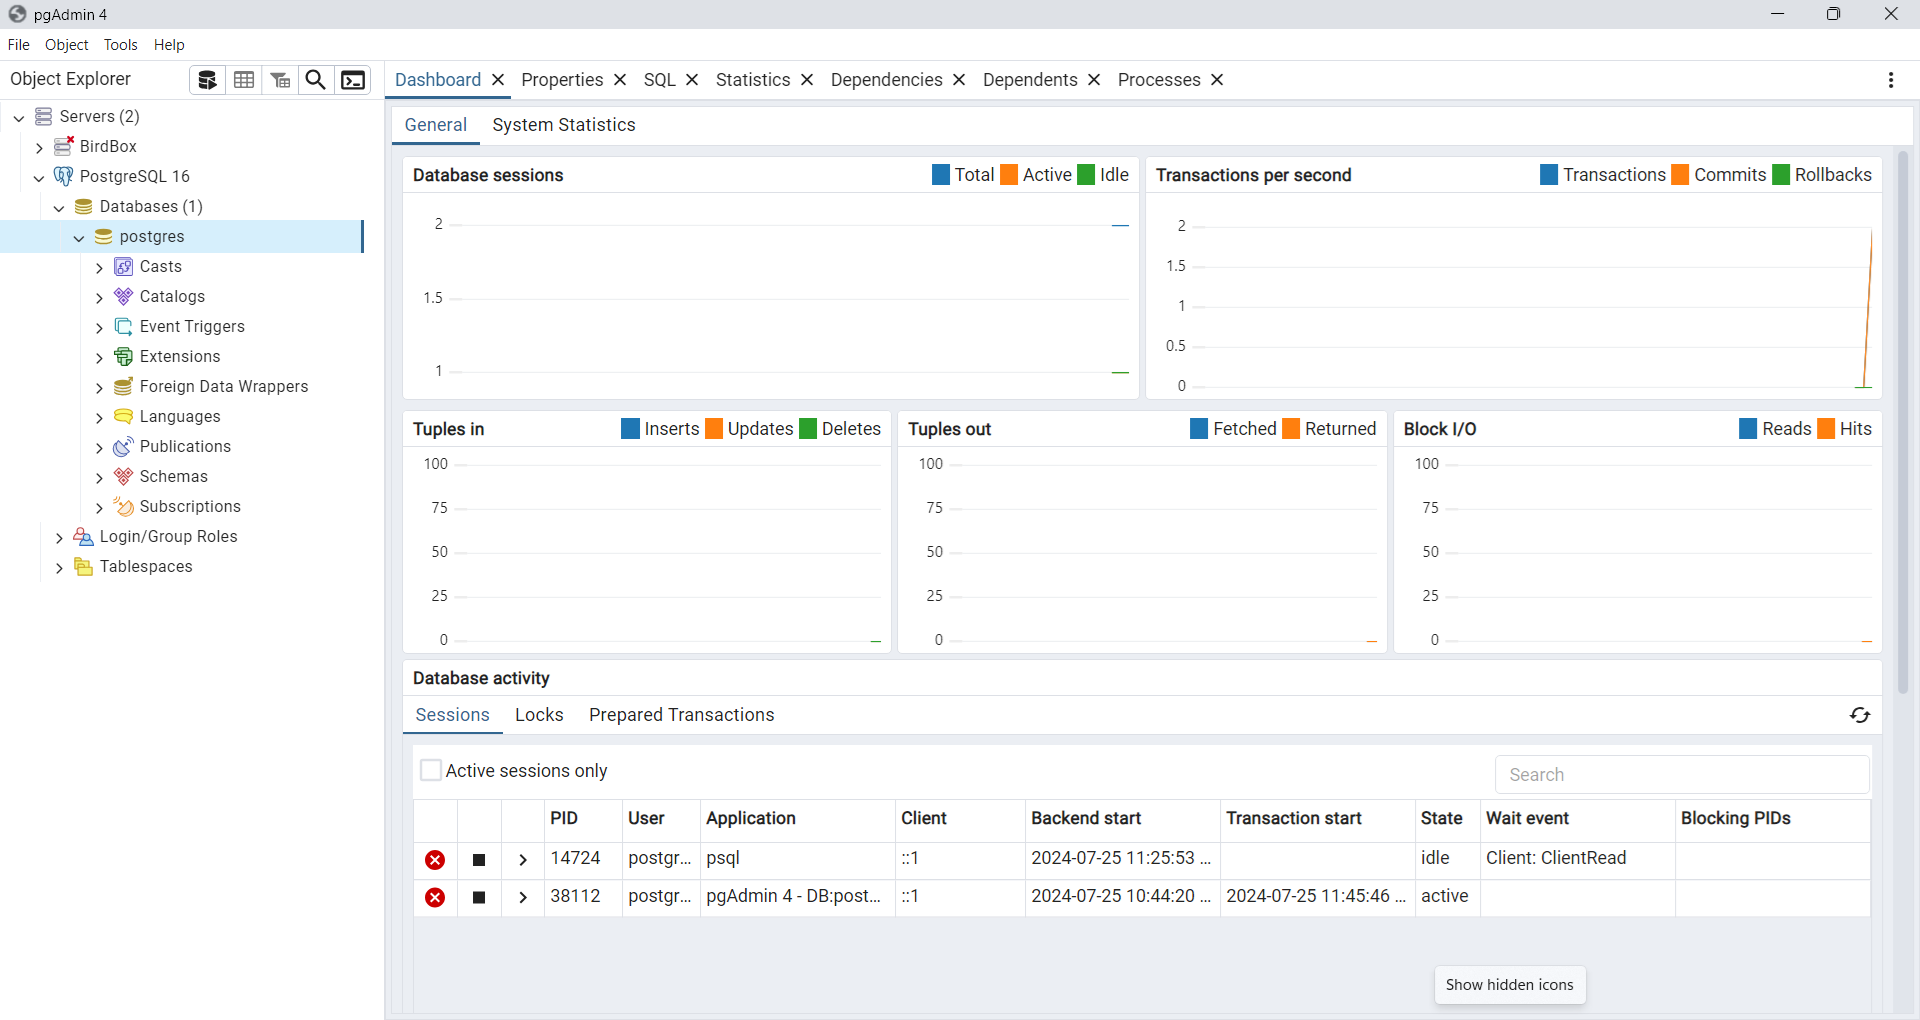
To run an SQL query, you need to open the Query Tool.
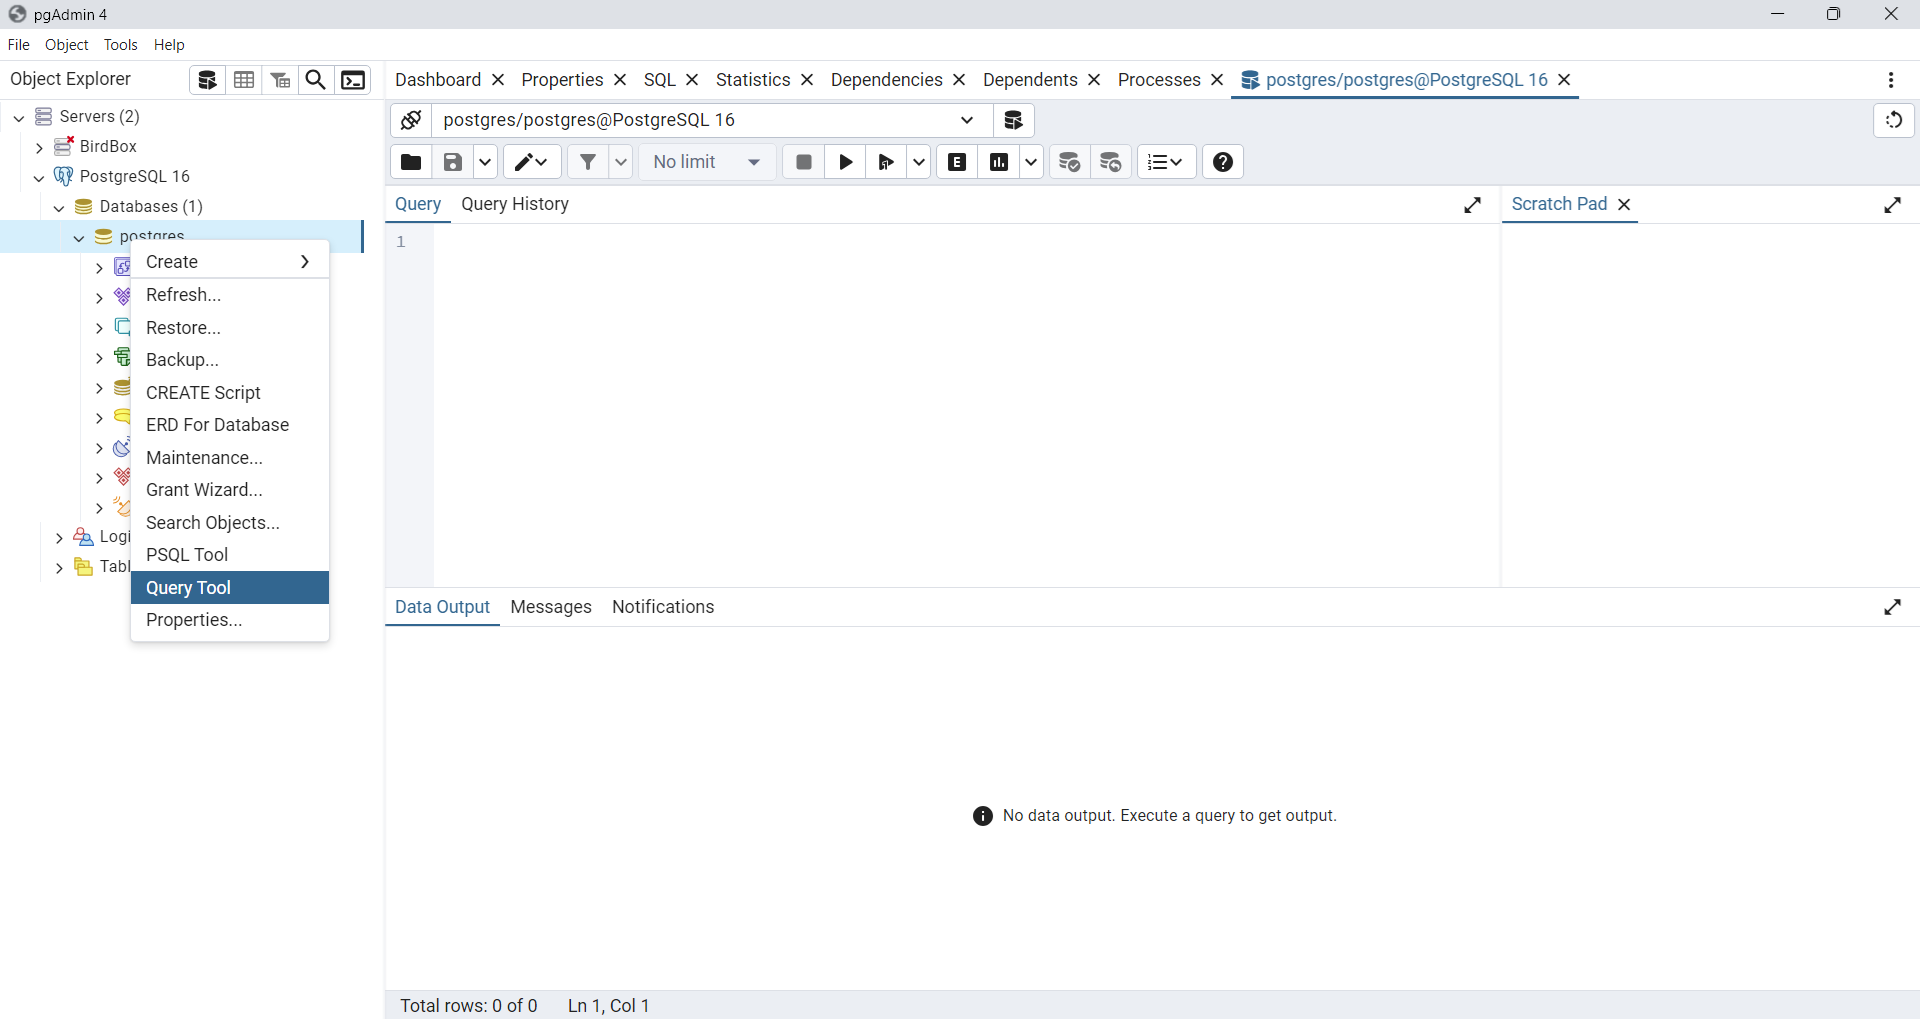
Now, you can execute the SQL query to the PostgreSQL server using psql Shell or pgAdmin 4 programs.