close
Are you want to build the newsletter subscribers list and send your post updates to the subscribers? This tutorial will explain how can you manage your website subscribers with WordPress and MailChimp. MailChimp is one of the most popular email marketing service provider. Using MailChimp you can easily manage website subscribers and can send website updates via email to the subscribers. This tutorial helps you to integrate MailChimp with WordPress.
To connect MailChimp with your WordPress site, you need a MailChimp account. Follow the below steps for creating a MailChimp account.
Go to the MailChimp website.
Create a free MailChimp account and you’ll receive an activation email.
You need to click on the activation link and complete some signup process.
After completed the signup process, you would be redirected to the MailChimp Dashboard.
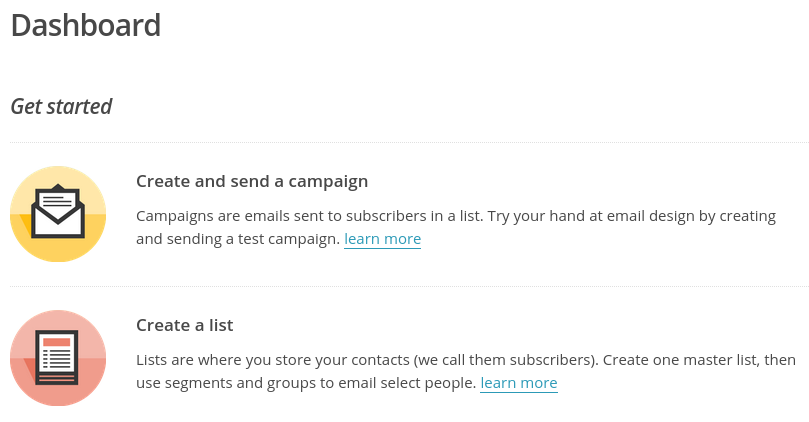
Now you need to create a subscriber list.
Navigate to the Lists page through Lists navigation menu and click on the Create list button.
Enter the list details and click on the Save button. You would be redirected to the newly created list page.
Create signup form for your subscriber list.
Click on the Signup forms link into the Stats dropdown from the respective subscriber list row.
Select Embedded forms form type and you will be taken to the form management page where you can create signup form as per your needs.
Once your form modification is completed, copy the embed code.

You have 2 options for integrate MailChimp with WordPress.
You may simply placed the form embed code into WordPress by the following steps.
Login into the wp admin panel and click on Appearance » Widgets.
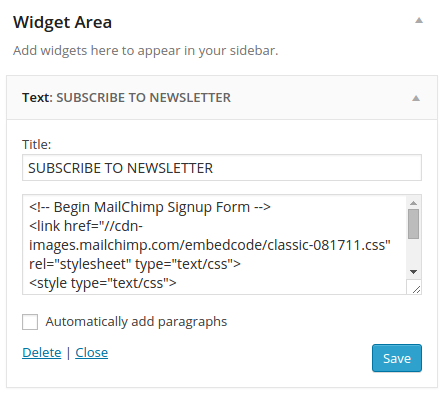
Drag Text widget to the Widget Area sidebar and insert the form embed code & Save.
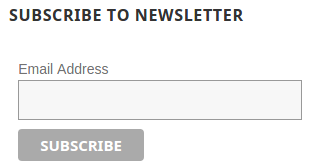
That’s all! Now you can visit your site and see the MailChimp subscription form in action.
This option is very useful when you already have a subscription form or you want to styling subscription form as per your theme template. For this option you does not need to follow Create Signup Forms steps described above but the Get API Key steps described below.
Click on the Account link from the account dropdown menus.
Click on the API keys link under Extras dropdown.
Go to the Your API keys section => under this section click on the Create a Key button => MailChimp API Key would be generated. Just copy your MailChimp API Key for later use.
We will use a WordPress plugin for integrate MailChimp in WordPress. MailChimp for WordPress Plugin provides maximum customization options for your subscriber form and configuration is very easy. So, you can use this plugin in WordPress.
Go to the Plugins » Add Plugins and search for “MailChimp for WordPress” plugin. Click on Install Now button and activate this plugin from your Plugins page.
Alternatively you could download “MailChimp for WordPress” plugin from the plugin page => unzip plugin and placed into the /wp-content/plugins/ directory.
Go to the Plugins » Installed Plugins and activate the “MailChimp for WordPress Lite” plugin.
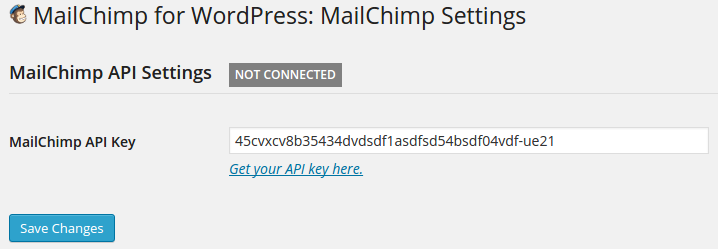
You can see the MailChimp for WP menu at the left hand side navigation bar. Navigate to the MailChimp for WP » MailChimp and paste your MailChimp API Key which was copied at Get API Key step. Click on Save Changes button and plugin would be connected with MailChimp account.
Navigate to the MailChimp for WP » Form and check at least one subscriber list from “Lists this form subscribes to” section.
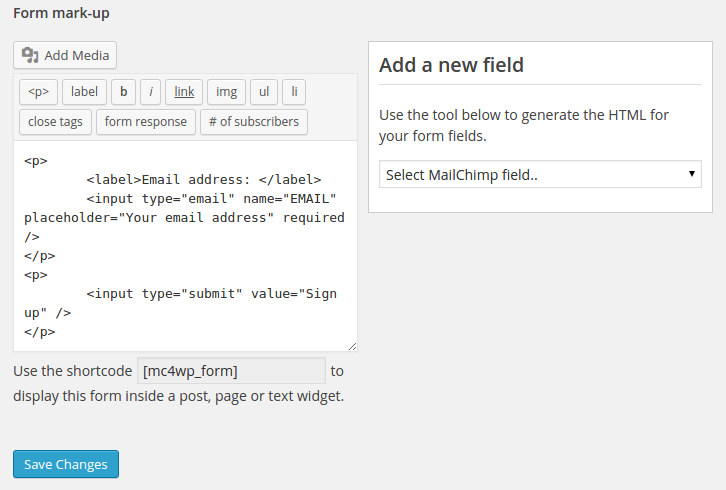
Under the Form mark-up section you can manage your form HTML.
Once completed click on the Save Changes button & copy the form shortcode.
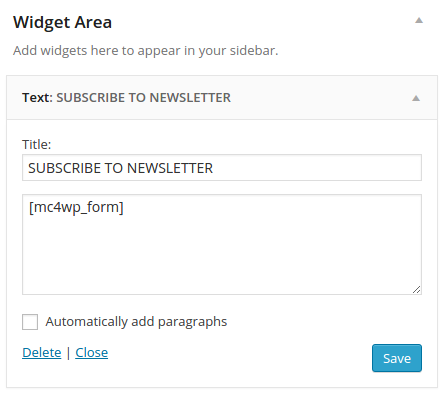
Go to the Appearance » Widgets section. Drag Text widget to the Widget Area sidebar and insert the form shortcode & Save.
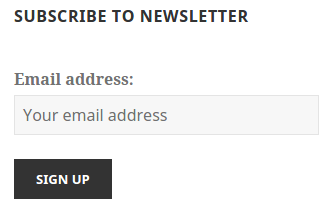
That’s enough for MailChimp integration in WordPress. You can see the MailChimp subscription form in action at your site.
Do you want to get implementation help, or enhance the functionality of this script? Click here to Submit Service Request